

The short answer: TENS unit placement for hip flexor pain should use clean, intact soft tissue near the front or side of the hip and upper thigh, following the device manual or a clinician-designed pattern. Do not place electrodes in the groin, over the genital area, directly on the hip crease, on numb skin or so current travels across the pelvis or torso. Hip pain has many causes, so confirm that the problem is actually a hip flexor strain before using TENS.
Hip Flexor Pain Is Not Always a Hip Flexor Strain
The hip flexors are a group of muscles that help lift the thigh and bend the hip. Pain after sprinting, kicking, climbing or a sudden change in training may come from a muscle or tendon strain. Similar pain at the front of the hip or groin can also come from the hip joint, bursitis, arthritis, a labral problem, a stress injury, a hernia, nerve irritation or pain referred from the back.
Location alone cannot identify the cause. The NHS guidance on adult hip pain recommends urgent help for a hot or swollen hip, skin color change, fever or severe pain that starts suddenly. After a fall or injury, severe pain, inability to walk or bear weight, or tingling and loss of feeling need immediate assessment.
Can TENS Help Hip Flexor Pain?
TENS sends mild electrical impulses through pads on the skin to influence pain signaling. It may provide temporary relief, but it does not repair a muscle tear, heal a tendon, restore hip-joint cartilage or correct a hernia or fracture. Pain relief should support sensible movement and rehabilitation rather than hide symptoms so you can return to hard training too soon.
A systematic review of electrical stimulation for musculoskeletal pain reported a mild-to-moderate immediate effect on local mechanical pain sensitivity. A broader meta-analysis of 381 randomized trials found moderate-certainty evidence that pain was lower during or immediately after TENS than placebo. Neither review establishes a single placement or proves that TENS treats the underlying cause of front-of-hip pain.

TENS Unit Placement for Hip Flexor Pain
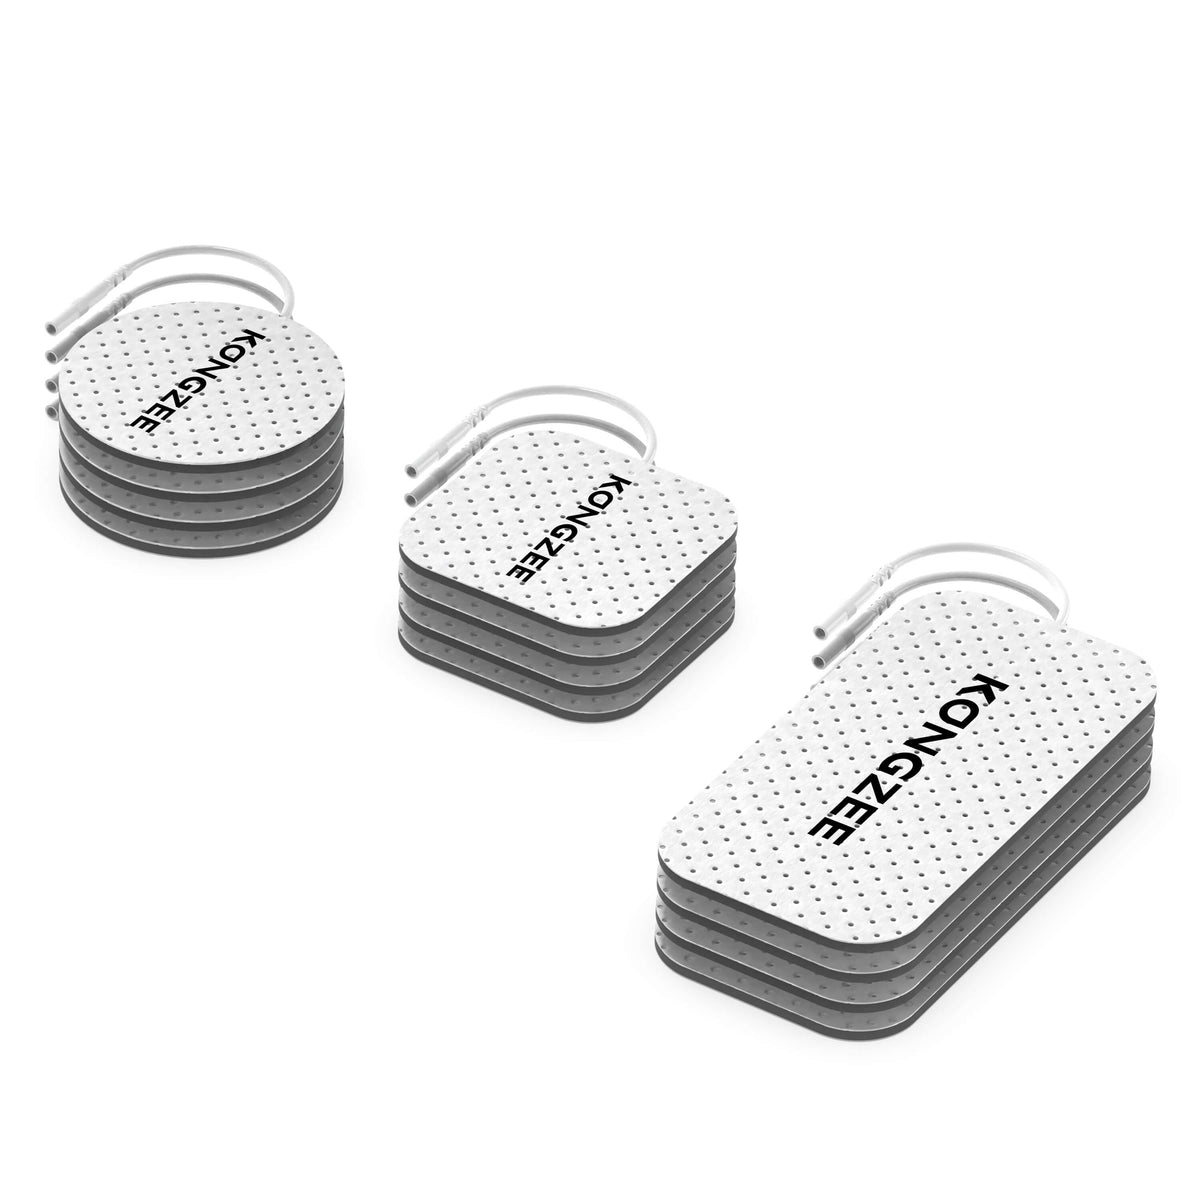
The safest approach keeps both electrodes on healthy soft tissue on the same side of the body and outside the groin crease. Because the iliopsoas is deep and passes close to sensitive structures, “put the pad directly on the hip flexor” is not a precise or safe instruction. A physical therapist can identify whether nearby anterior-thigh or lateral-hip placement is appropriate.
Leave space between pads so they do not touch. Keep each electrode flat, and choose a position that will not fold when you sit or bend the hip. Never place one pad on the front of the hip and the other on the opposite side of the pelvis, abdomen or lower back simply to surround the pain.
Two-Pad Anterior-Thigh Pattern
When a clinician or the device manual approves it, two pads may be placed vertically on healthy upper-thigh soft tissue below the groin crease, with one above the other. This keeps the placement local without covering the genital area, inguinal crease or prominent front hip bone. It is intended for comfortable sensory stimulation, not deep treatment of the iliopsoas.
Front-and-Side Pattern
Another clinician-directed option may use one electrode on the upper front thigh and one on nearby outer-hip soft tissue, both on the same side. Avoid placing the lateral pad directly on a tender bony point. If lying on the pad causes pressure, choose another approved position.
Four-Pad or Dual-Channel Placement
Four pads do not automatically provide better relief. If two channels are used, each pair should stay within the intended local region and follow the channel diagram in the manual. Do not cross channel pairs over the abdomen, pelvis or torso. A professional can mark which two pads belong to each channel before the first session.
Why the Groin and Hip Crease Need Special Care
The groin contains major blood vessels, nerves and sensitive structures, while the hip crease bends repeatedly and can make an electrode lift. Do not position pads on the genital area, directly over the femoral triangle, on a hernia, or underneath tight clothing that presses or folds the electrode.
Pain that feels deep in the groin, catches or locks during movement, follows a fall, or occurs with a visible lump needs evaluation. TENS may change the sensation temporarily without identifying a joint injury or hernia.
How to Set Up a Hip TENS Session
- Confirm the likely source of pain and whether TENS is appropriate.
- Read the device manual, contraindications and placement diagrams.
- Choose a stable lying or seated position that keeps the hip relaxed.
- Inspect the front and side of the hip and upper thigh for wounds, rash, swelling or numbness.
- Clean and dry intact skin; remove lotion from the pad area.
- With the unit off, apply the pads to approved soft-tissue locations on the same side.
- Route leads so they will not pull, snag or cross the torso.
- Select TENS mode and begin at the lowest intensity.
- Increase gradually to a strong but comfortable tingling without a forceful contraction.
- Turn the unit off before moving or removing pads, then check the skin.
Use the session time stated by the manufacturer or clinician. More intensity and longer sessions are not automatically more effective. Review our complete TENS setup guide and guide to TENS session length before changing settings.

Areas and Situations to Avoid
- Do not place pads in the groin, genital area or directly on the hip crease.
- Do not stimulate across the pelvis, abdomen, chest or torso.
- Avoid wounds, rashes, infected skin, fresh incisions, severe bruising and swollen areas.
- Do not use on numb skin or where you cannot reliably judge intensity.
- Avoid prominent bones and any location compressed by tight clothing or body weight.
- Do not use while sleeping, bathing, driving, running or operating machinery.
Ask a healthcare professional before using TENS if you are pregnant; have a pacemaker, implanted defibrillator or another electronic implant; have epilepsy, heart disease, cancer, poor circulation or reduced sensation; or recently had hip, abdominal or pelvic surgery. See our full TENS contraindications checklist.
What the Sensation Should Feel Like
TENS should create a steady, strong but comfortable tingling. It should not burn, sting, feel sharp or cause the thigh to kick. Stop if pain increases, symptoms spread toward the groin or leg, or you become lightheaded or unwell.
If stimulation feels uneven, turn the unit off and check that every pad lies flat and each lead is secure. Curved hip contours and movement can lift an edge. Replace a pad that is torn, dry or no longer sticks evenly; our guide to cleaning reusable TENS pads explains safe care and replacement signs.
TENS vs EMS for the Hip Flexors
| Feature | TENS | EMS |
|---|---|---|
| Main purpose | Temporary pain modulation | Muscle activation or contraction |
| Expected response | Comfortable tingling | Rhythmic or visible movement |
| Placement basis | Near an appropriate painful region | Over a target muscle or motor point |
| Heals a strain | No | No |
Do not copy a TENS placement when switching to EMS. Strong hip-flexor contractions can pull on an injured muscle or alter balance. EMS placement and intensity should support a defined rehabilitation goal. Read our TENS vs EMS comparison before changing modes.
Choosing a Unit for Hip Pain
Look for clearly separated TENS and EMS modes, gradual intensity steps, electrodes that adhere evenly to curved skin, secure lead connections and readable safety instructions. Independent dual channels can support two clinician-approved pad pairs, but they do not make a groin or cross-torso placement safe.
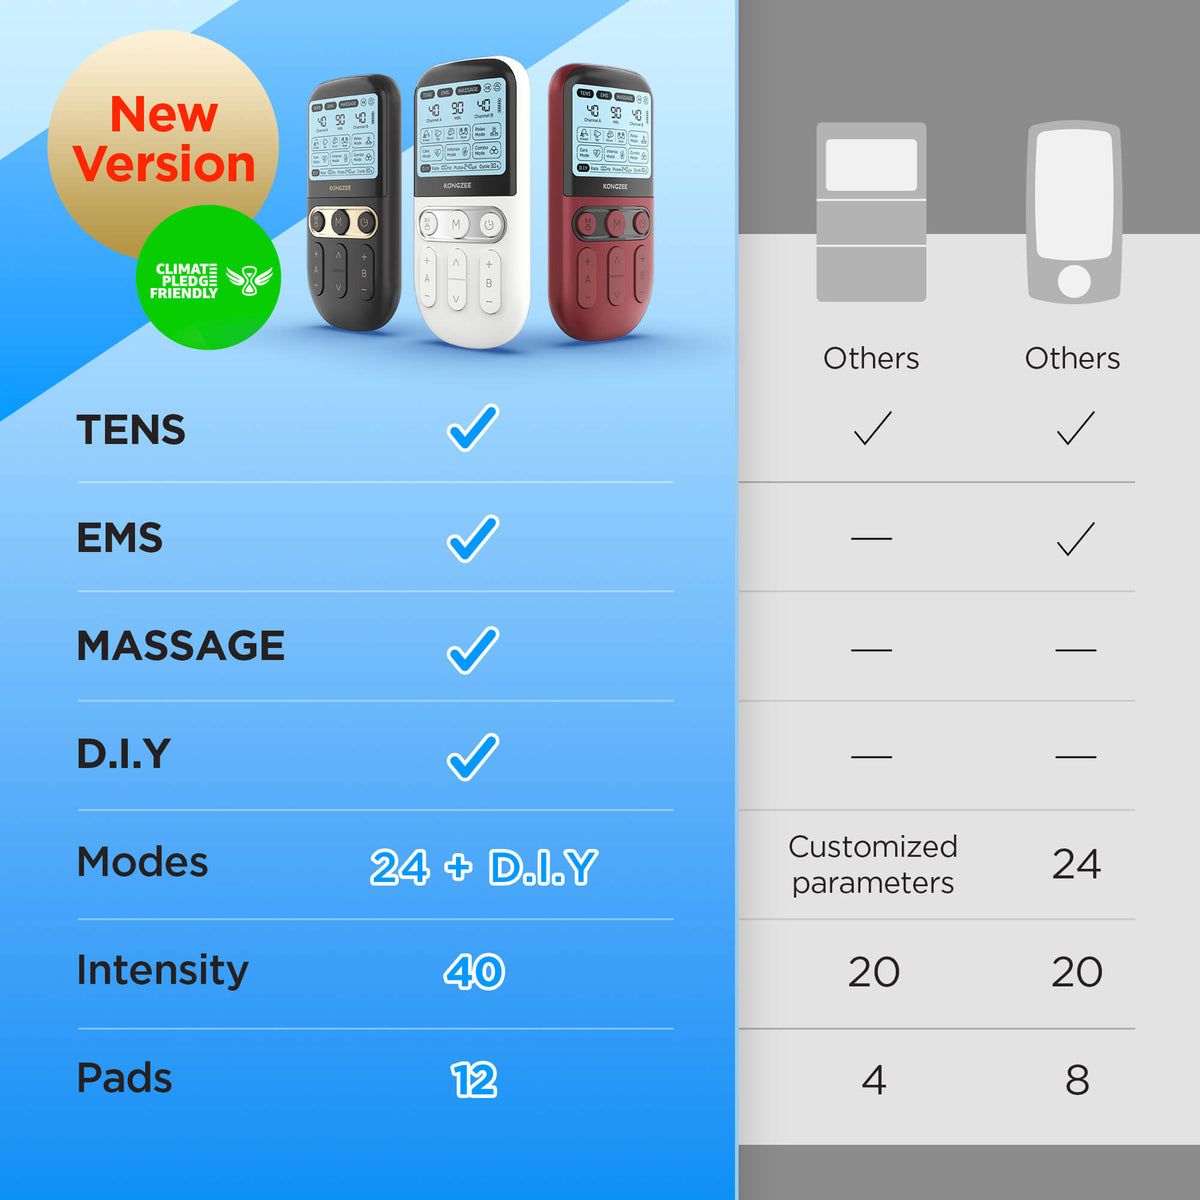
The KONGZEE 4-in-1 TENS and EMS unit includes separate TENS, EMS, Massage and DIY modes, independent A and B controls, 40 intensity levels and reusable 2mm pin electrodes. These features provide adjustment options; they do not diagnose hip pain or replace treatment for a fracture, hernia, joint condition or significant muscle tear.
Frequently Asked Questions
Can I put TENS pads directly over my hip flexor?
The main hip flexor is deep and close to the groin, so “directly over” is not a safe universal instruction. Use only an approved upper-thigh or outer-hip pattern from the manual or a clinician.
Can I put a TENS pad in the groin?
No. Keep electrodes outside the groin and genital area and away from the inguinal crease. Deep groin pain or a lump should be medically assessed.
Can TENS heal a pulled hip flexor?
No. TENS may offer temporary pain relief, but healing depends on the severity of the injury, activity adjustment and an appropriate rehabilitation plan.
Why does my leg move during TENS?
Confirm that TENS rather than EMS is selected and reduce intensity. A comfortable sensory tingle is the goal; forceful hip or thigh movement is not.
Can I walk or exercise with the pads on?
Use TENS while resting in a stable position unless the manufacturer and your clinician approve otherwise. Exercise can lift pads, pull cables and mask warning pain.
Reviewed September 17, 2026. This article is educational and does not replace diagnosis, medical advice, rehabilitation or the instructions supplied with your device.






Leave a comment
All comments are moderated before being published.
This site is protected by hCaptcha and the hCaptcha Privacy Policy and Terms of Service apply.