

The short answer: TENS may offer temporary pain relief for an appropriately diagnosed hand problem, but pad placement depends on the cause and exact location. Because the hand is small, a clinician may place one small pad on the muscular forearm and another near the painful hand region on intact skin. Keep pads from touching and keep the circuit on the same arm. Start at the lowest intensity and aim for a strong but comfortable tingling, never pain or an uncontrolled muscle contraction.
First, Make Sure TENS Fits the Problem
Pain in the hand can reflect arthritis, tendon irritation, overuse, nerve compression, trauma or pain referred from the neck. These possibilities do not share one treatment. TENS changes how pain signals are experienced; it does not diagnose the cause, repair a torn structure, reverse arthritis or make an unsafe injury safe to load.
If the pain is new, severe, unexplained or changing quickly, get a clinical assessment before using electrical stimulation. A healthcare professional can also confirm whether the discomfort is coming from the area itself or is being referred from another region.
Can TENS Help?
TENS sends mild electrical impulses through adhesive electrodes on the skin. Some people feel meaningful relief during a session, while others notice little change. The effect can stop when the unit is turned off. That makes TENS a comfort option within a broader plan, rather than a cure or a substitute for rehabilitation.
A useful trial has a clear goal: make a short walk, sleep routine or prescribed exercise easier without hiding symptoms that should limit activity. If the unit does not help after several correctly performed sessions, reassess placement, settings and whether TENS is appropriate with a clinician.

TENS Unit Placement for the Hand
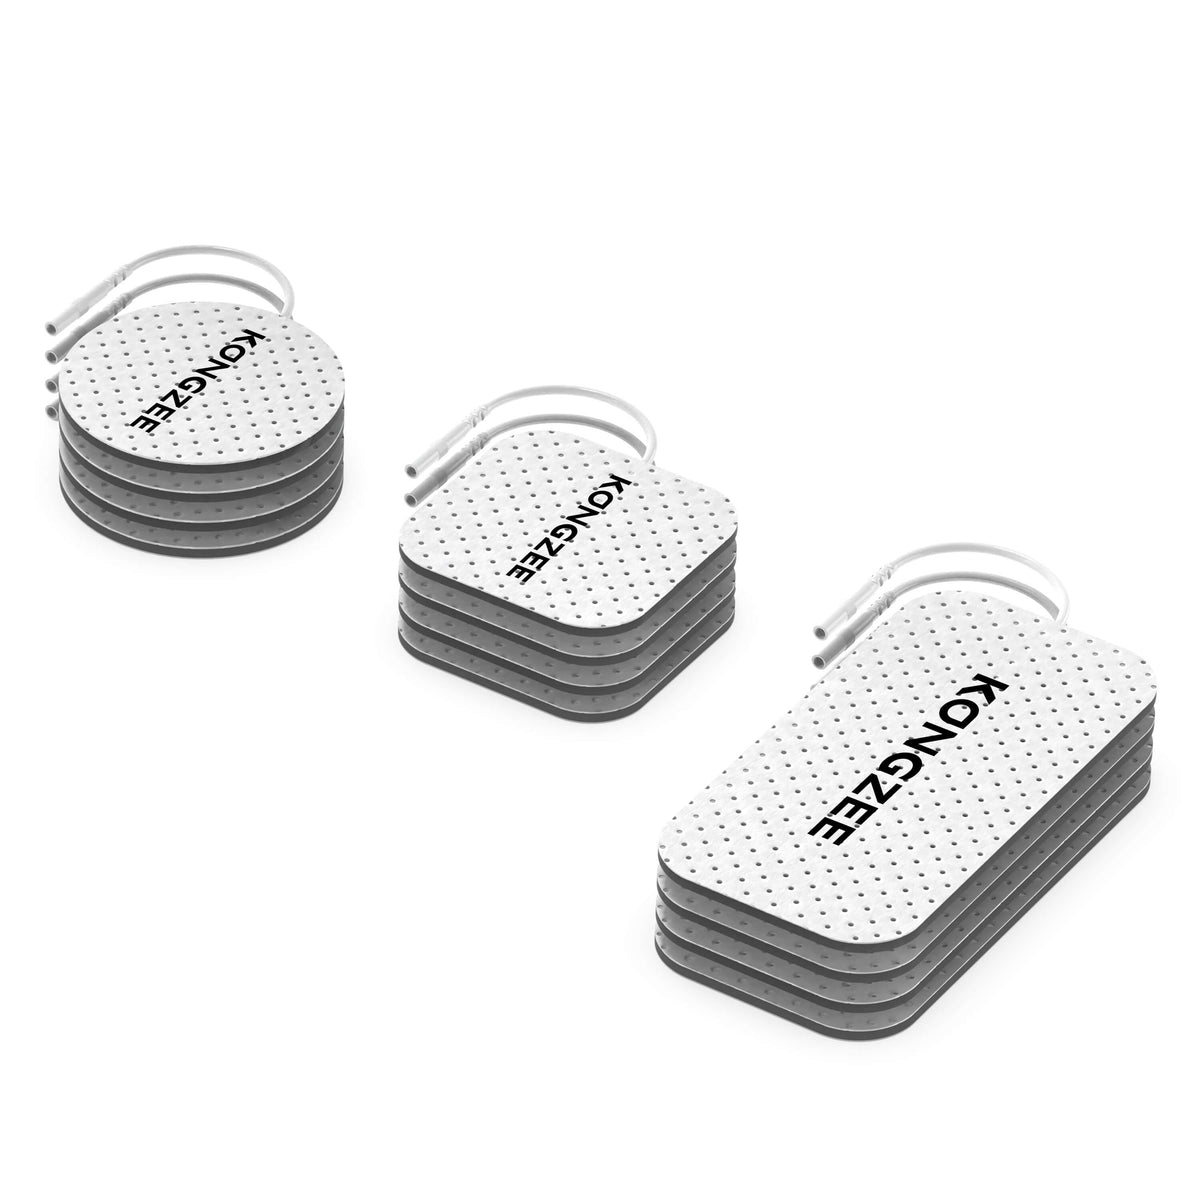
Because the hand is small, a clinician may place one small pad on the muscular forearm and another near the painful hand region on intact skin. Keep pads from touching and keep the circuit on the same arm.
Electrodes should lie flat on clean, dry, intact skin and should not touch. Use only placements shown in the device manual or approved by a healthcare professional. Body shape, diagnosis and pad size matter more than copying an online picture exactly.
Two-Pad Pattern
A simple two-pad circuit is usually the easiest starting point. Place both pads on the same body region so the painful area sits between or just beside them. Keep enough distance between pads for a broad comfortable sensation instead of a sharp concentration at one edge.
Four-Pad or Dual-Channel Pattern
A second channel can surround a larger area, but more pads are not automatically better. Keep each A or B lead pair local, confirm which leads belong together and avoid any arrangement that carries current across the chest, head or pelvis. Independent controls can help balance sensation when the two areas differ.
Step-by-Step Setup
- Confirm the likely cause and check for warning signs.
- Read the unit manual, contraindications and placement diagram.
- Switch the unit off before connecting or moving electrodes.
- Inspect the skin for cuts, rash, swelling, bruising or reduced sensation.
- Clean and dry the skin; remove lotion, sweat and oil.
- Apply both pads to approved soft tissue and press every edge flat.
- Select TENS mode, not EMS, and begin at the lowest intensity.
- Increase slowly to a strong but comfortable tingling.
- Stay in a safe resting position for the first session.
- Turn the unit off before removing pads and inspect the skin afterward.
Use the time recommended in the manual or by your clinician. Our complete TENS setup guide explains the controls, while how long to use a TENS unit covers session planning.

Areas to Avoid
Do not place electrodes over finger joints, open cuts, infected nail folds, markedly swollen tissue, the palm if adhesion is poor and numb skin. Never use TENS on the head, eyes, mouth or front or side of the neck. Do not place pads on the chest and back at the same time or create a current path through the chest.
Do not use TENS while driving, operating tools, bathing or sleeping. Keep the unit away from water. Stop if you feel burning, stinging, dizziness, nausea, increasing pain or persistent skin irritation.
Who Should Ask a Clinician First?
Ask a healthcare professional before using TENS if you are pregnant; have a pacemaker, implanted defibrillator or another electronic implant; have epilepsy, heart disease, cancer, a history of blood clots or bleeding problems; or have poor circulation or reduced sensation. Follow the instructions supplied with your specific device. See our TENS contraindications checklist for a fuller screening guide.
When to Stop and Seek Medical Care
Seek prompt medical assessment for a deformed finger or wrist, severe swelling after trauma, a pale or blue hand, spreading numbness, sudden weakness, fever, or loss of normal grip. Call emergency services for chest pain, trouble breathing, fainting, signs of stroke or a severe traumatic injury.
Do not use temporary pain relief to push through a limp, loss of strength or rapidly worsening symptoms. If pain repeatedly returns, wakes you at night or does not improve as expected, the next step is a diagnosis rather than a stronger setting.
What the Sensation Should Feel Like
TENS should feel like steady tingling without burning or forceful movement. A pad edge that lifts can create a sharp sensation, so smooth each electrode and replace it when it no longer adheres evenly. Lower the intensity if the sensation becomes uncomfortable.
If the muscle contracts, check that the device is in TENS mode. EMS is designed to activate muscle and follows different placement and dosing principles. Review TENS vs EMS before switching modes, and use our guide to cleaning reusable pads to maintain even contact.
Build Relief Into a Recovery Plan
Longer-term progress usually depends on gentle hand motion, activity modification, graded grip work and task-specific rehabilitation. Change one variable at a time and judge the response during activity and the following day. Relief from TENS should support sensible movement, not replace it.
A physical therapist can assess strength, mobility and movement habits, then determine where electrical stimulation fits. They can also show safe pad landmarks on your body instead of relying on a generic diagram.
Choosing a TENS Unit
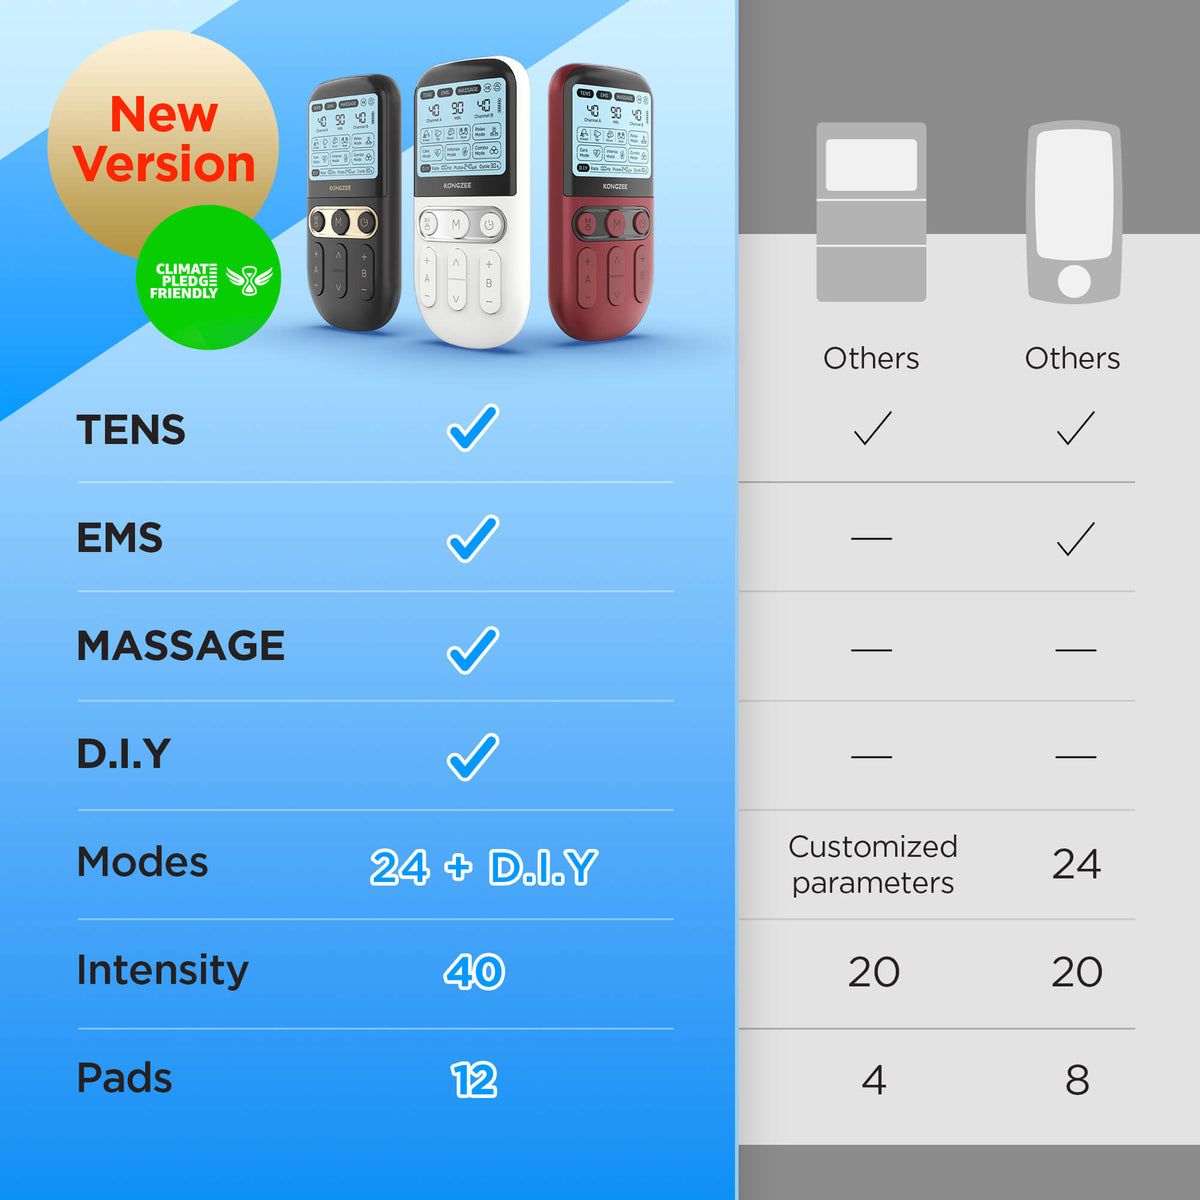
Useful features include clearly separated TENS and EMS modes, gradual intensity steps, secure lead connections, readable safety instructions and independent channel controls. The KONGZEE 4-in-1 TENS and EMS unit provides TENS, EMS, Massage and DIY modes, dual-channel control and 40 intensity levels. These options support adjustment; they do not diagnose pain or remove the need for medical care.
Frequently Asked Questions
Where should I put the pads?
Because the hand is small, a clinician may place one small pad on the muscular forearm and another near the painful hand region on intact skin. Keep pads from touching and keep the circuit on the same arm. A clinician or the device manual should confirm the final position.
Can I put a pad directly on the painful spot?
Often the pads sit around the painful area on healthy soft tissue. Avoid prominent bone, damaged skin, numb areas and any prohibited location.
How strong should TENS feel?
Use a strong but comfortable tingling. It should not burn, sting or cause an uncontrolled contraction.
Can I exercise while wearing it?
Begin in a stable resting position. Movement can loosen pads and catch leads, and pain relief can hide an unsafe load. Exercise with TENS only when the manual and your clinician allow it.
How do I know if I should stop?
Stop for worsening pain, burning, persistent redness, dizziness, new numbness, weakness or swelling. Seek care when symptoms match the warning signs above.
Reviewed September 17, 2026. This article is educational and does not replace diagnosis, medical advice, physical therapy or the instructions supplied with your device.






Leave a comment
All comments are moderated before being published.
This site is protected by hCaptcha and the hCaptcha Privacy Policy and Terms of Service apply.